The PS4 allows users to create, edit, and upload video recordings. The video recording and sharing functionality in Sony’s PlayStation 4 is not quite robust enough to replace traditional video capture hardware. But if you want to share a few minutes of cool footage with your Facebook friends, it’s pretty simple to do so.
- Also read Chromecast Colomn | Solution for Apple TV | Roku Video Tips

1. Use the Share button.
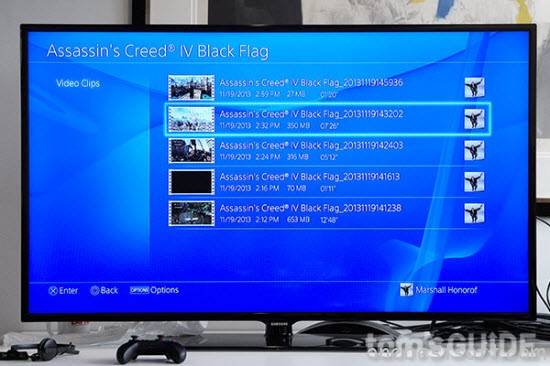
Click on the Share button on your controller whenever you’re ready to edit and share your clip. This will automatically bring up the Video Upload or Screenshot Upload options. Click on Video Upload.

You’ll see a selection of recently recorded PS4 clips. Keep in mind that these will not necessarily be 15 minutes long; every time you click the Share button, the PS4 stops recording and begins again anew. Choose the video that contains the bit of gameplay you want to share.
2. Edit your clip.
The PS4 will inform you that you can trim your video prior to posting it. Keep in mind that you will not be able to add narration, cut together multiple clips or add titles and transitions like in a traditional piece of video editing software. This is just for sharing short gameplay clips.

On the next screen, scroll through your clip until you find your starting point. By default, you can scroll through in 10-second increments, but you can also change the interval if you’re looking for broader or narrower swaths of footage.
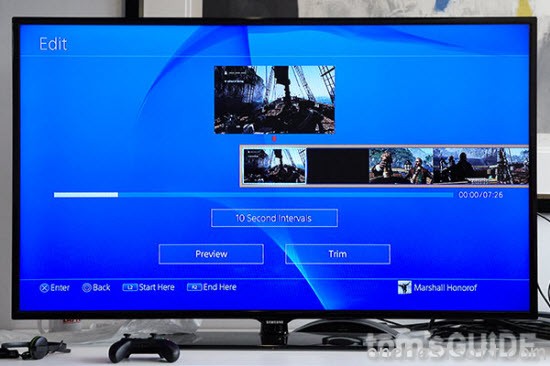
When you find your starting point, hit the L2 button to begin your footage there.
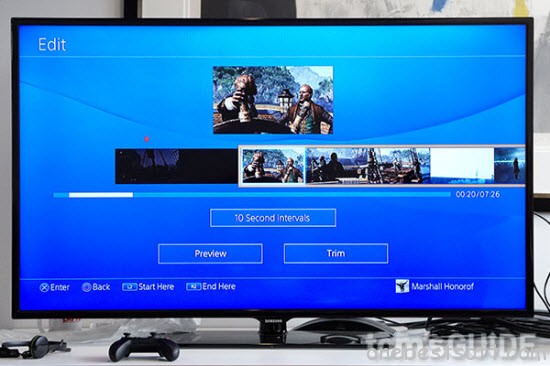
Scroll through the footage until you find your ending point. Hit R2 to bookend the video.
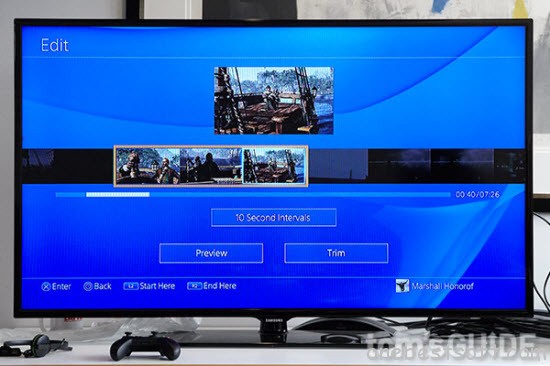
At this point, you can click Preview to watch your selection, or Trim to cut the clip down to size.
3. Share your video on Facebook.
From here, all you have to do is give the video a title (by default, it will have the game’s name plus a random string of numbers and letters) and pen a brief description of what it is.

Scroll down to the bottom of the screen and click Share.
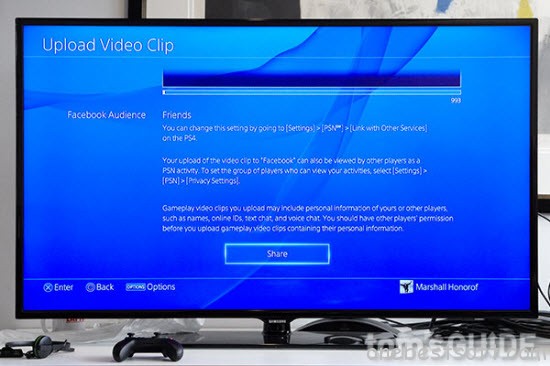
The video will automatically upload to Facebook. You can check its progress in the Uploads section of the Notifications menu.
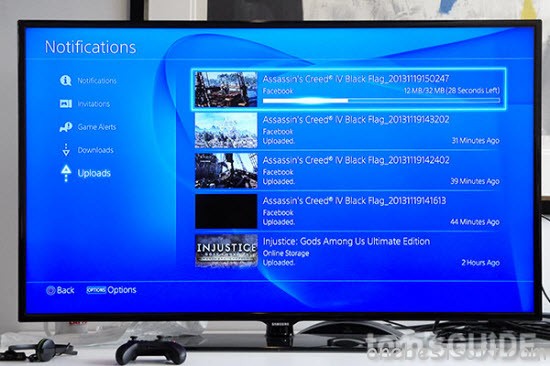
Once the video is done uploading, it will appear automatically on your Facebook page. There is no way to download it, however, unless you use a workaround such as screen capture software.
You can check out the video if you want to see how a short, completed clip looks.
In the future, the PS4 may allow more comprehensive video editing, but for now, this is what PS4 owners get: a quick and easy way to share video clips, but no real method of presenting them in a polished or curated fashion.
Additional Editing Tips:
Then would you like to edit your PS4 recorded videos on another platform like PC/Mac if you’re looking for additional editing features? For some amateurs, they may choose professional video editors like Avid MC, Premiere Pro, FCP, iMovie, etc.
- Read comparison 1 | comparison 2 | other editors
And in my part, I recommend simple video converter, which has the function of converting, and the equal function of editing. Compared with others, it is more powerful due to a broader format support.HerePavtube Video Converter Ultimate/iMedia Converter for Mac is such an ideal tool with a user-friendly interface, lots to offer but affordable at the same time. With it, you are able to import any video and audio in all hot formats into the program for editing, like AVI, MP4, MKV, AVCHD, WMV, XAVC, 4K video, H.265 and more. And you can trim, crop, rotate your video files, add video effects/watermarks/subtitles and more with several simple drag-and-drops.


1.Trim, Flip, Rotate your videos
Trim: Choose to reserve the part you need. Just choose the chapter which you need to trim, to set “start time” or “end time”, type the portion which you want to save.
Flip Horizontal: Click to flip the image horizontally.
Flip Vertical: Click to flip the image vertically.
Rotate conunter-clockwise: Click to rotate the image 90°towards left.
Rotate clockwise: Click to rotate the image 90°towards right.
2. Crop the videos to remove black edges or just get the scale of video you want.
Crop: You may change the size in the “Left” and “Top” box. The effect will appear in the video simultaneously. And you may also drag the pane to choose the size you want.
3. Add the text watermark.
Text Watermark: Check Enable, you can add text watermark to selected video clip. You can either set parameters or drag the text on preview screen to set its location.
4. Add the images/video watermark.
Image/Video Watermark: Check Enable, you can add images or videos as watermark onto selected video file. The location can also be set by dragging on the preview screen.
5. Add Effect
Effect: Under Effect tab, you can add special effect and other special effects like Simple Gauss Blur, Flip Color, Invert, Aged Film to your source video. In Color Control section, you can correct color by adjusting brightness, contrast, and saturation. You can also tick off “Deinterlacing” to keep good image quality.
6. Replace the audio of the original videos to put your own audio on it.
Audio Editor: You can either replace/remove original audio, or set audio fade in/out effects.
7. Insert *.srt or *.ass/*.ssa subtitle
Subtitle:In this tab, you can add *.srt or *.ass/*.ssa subtitle-files to the video as hard subtitles.
More
Stream Any Video from Your PC, Mac, Android or iOS Device to Chromecast
Plex Tivo Shows Workaround – Importing Tivo files to Plex
Encode ISO to Gear VR via Chromecast on Mac 10.11
Can’t Transfer Blu-rays on your New iPod Touch?
Convert Protected/Non-protected M4V to Galaxy Tab 4 Nook
Copy Frozen (Two-Disc Blu-ray / DVD + Digital Copy) to Kindle Fire HDX
Keep Watch iTunes movies via Apple TV 4 Forever
Play 4K UHD Videos on 4K HD TV for 4K HD Experience
Src
Trim, Preview and Share Video Recorded On PS4
You can follow the converting MKV to Facebook supported MP4 or MOV step by step guide to upload MKV to Facebook successfully at http://www.idealshare.net/video-converter/upload-mkv-to-facebook.html
ReplyDelete